
Contact Sales Now
Thank you! Your submission has been received!
Oops! Something went wrong while submitting the form.

Contact Sales Now
Thank you! Your submission has been received!
Oops! Something went wrong while submitting the form.

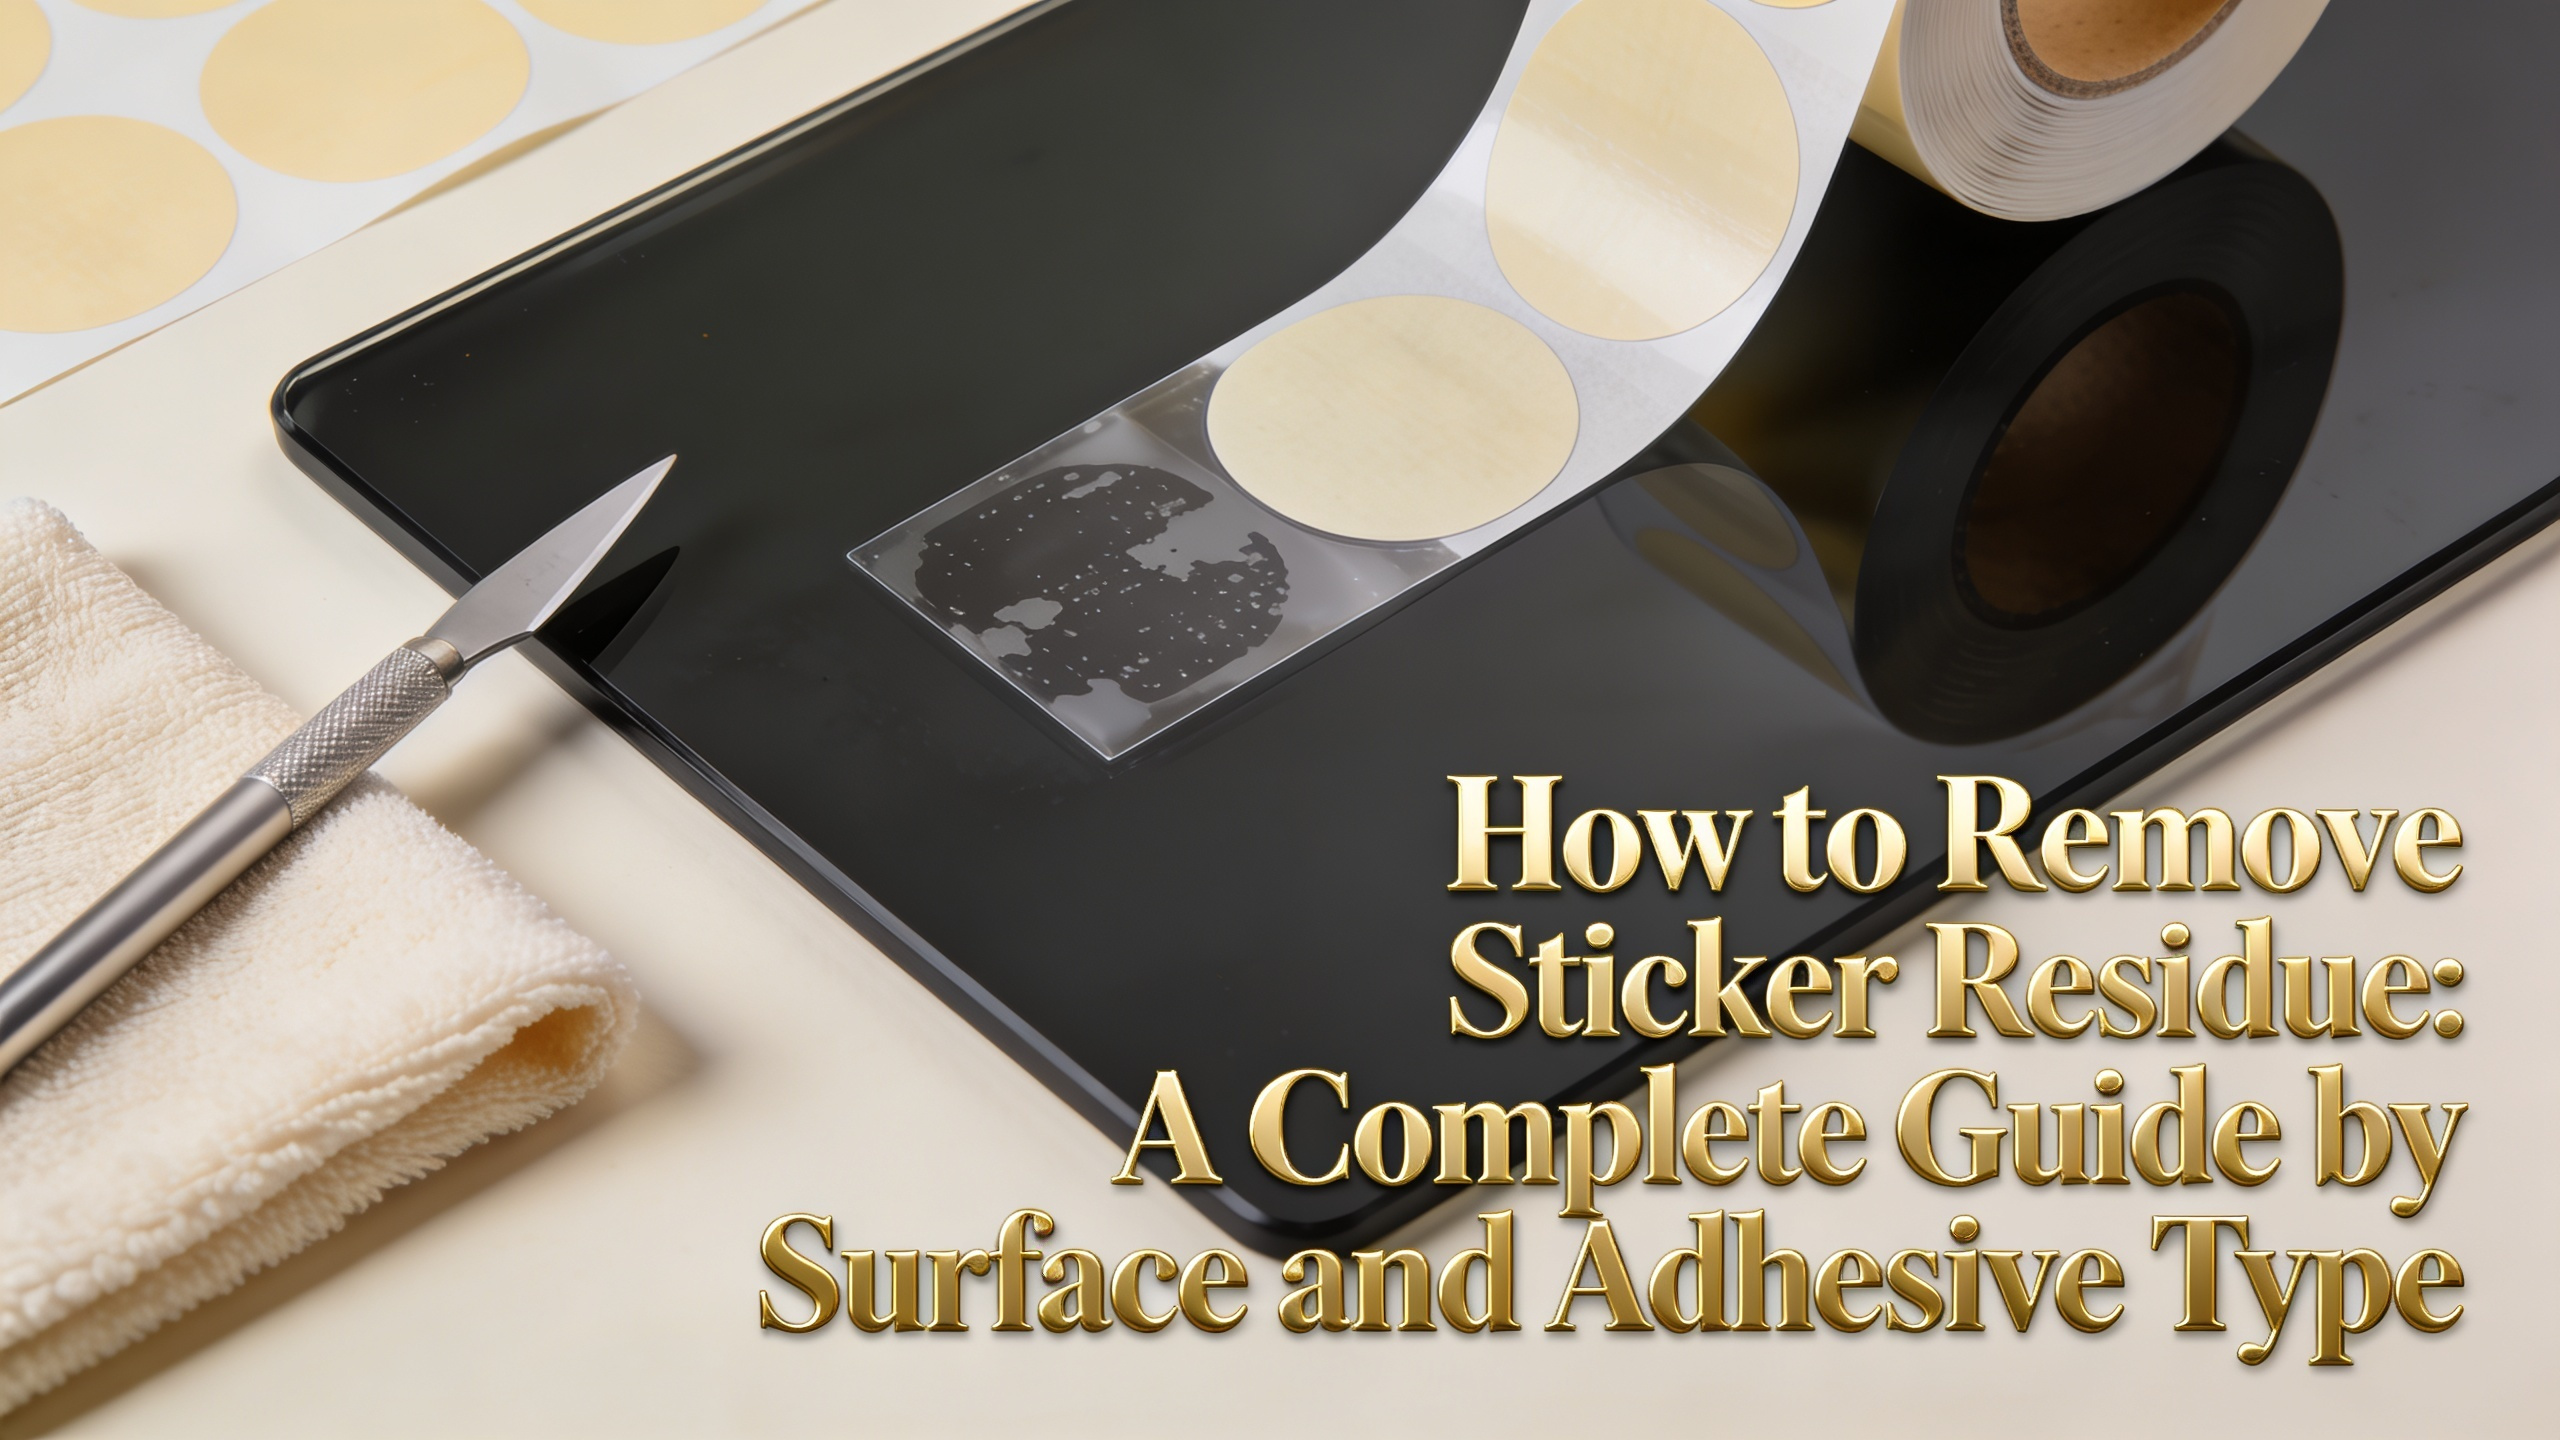
Sticker residue is a chemistry problem, not a cleaning problem. The adhesive left behind has specific properties that respond predictably to heat, solvents, or mechanical force. Match the method to the adhesive and surface, and removal takes seconds instead of hours.
This guide skips generic advice and gets straight into what works, why it works, and when each approach fails. Whether you're dealing with old price tags on glassware or industrial labels on metal, the principles below apply.
Every method for removing sticker residue falls into one of three categories. Each works by attacking the adhesive's bond differently, and knowing which to use is half the battle when figuring out how to get sticker residue off any surface.
Heat softens the adhesive's polymer matrix, lowering its viscosity until it releases. A hairdryer or heat gun at moderate temperature works on most pressure-sensitive adhesives. Heat is the safest first option for delicate surfaces because it adds nothing to the material.
Solvents dissolve the adhesive's binder. Common options include isopropyl alcohol, citrus-based removers (d-limonene), white vinegar, mineral oil, and acetone. Each targets different adhesive chemistries, so picking the right one matters more than applying force.
Mechanical removal uses scraping, rubbing, or abrasion. Plastic scrapers, microfiber cloths, and rubber erasers fall here. This category carries the highest risk of surface damage but works when residue has cured or hardened beyond what heat or solvents can reach.
Match the surface to the method before you start. Using acetone on plastic or a metal scraper on wood creates more damage than the residue itself.
This table covers 95% of removal scenarios. The remaining 5% involve cured industrial adhesives or specialty surfaces that require manufacturer guidance.
Glass is the most forgiving surface. A razor blade held at a 30-degree angle removes nearly any residue mechanically. For chemical removal, isopropyl alcohol cuts through acrylic adhesives in under a minute. This is the easiest surface when learning how to remove sticker residue cleanly.
Hard plastic requires caution. Acetone and harsh solvents craze the surface, leaving permanent fogging. Start with heat from a hairdryer for 30 seconds, then peel. For remaining residue, apply isopropyl alcohol or cooking oil and let it sit for two minutes before wiping.
Finished wood reacts badly to water and alcohol, which can lift the finish. Mineral oil or olive oil penetrates the adhesive without damaging the surface. Apply, wait five minutes, then wipe with the grain. This method is reliable for how to remove stickers from furniture.
Metal tolerates almost any solvent. Acetone removes cured industrial adhesives quickly. For painted or coated metal, downgrade to isopropyl alcohol to avoid damaging the finish. Stainless steel handles WD-40 well, which dissolves rubber-based adhesives effectively.
Painted surfaces are the highest risk. Most solvents lift paint along with the adhesive. Mineral oil applied with a soft cloth and patience works without stripping pigment. Always test in a hidden area first when figuring out how to take stickers off painted walls or trim.
Fabric responds best to cold, not heat. Place the item in the freezer for an hour, then scrape off the frozen residue with a dull knife. Treat any remaining stain with a degreasing agent before washing normally.
Skin only needs oil. Vegetable oil, baby oil, or even hand lotion break down adhesive within a minute. Never use chemical solvents on skin, regardless of how stubborn the residue appears.
The chemistry of the adhesive controls which removal method succeeds. Pressure-sensitive adhesives use polymer chains held together by either chemical or physical bonds. Solvents that dissolve those specific bonds release the residue; everything else just smears it.
Most consumer stickers use one of three adhesive families. Each has distinct removal characteristics, and identifying which family you're working with predicts what will work before you start experimenting.
Acrylic adhesives dominate consumer labels, packaging, and most office stickers. They are clear, age-resistant, and respond well to isopropyl alcohol and citrus-based removers. Acrylics become more brittle with age, so old residue often peels off cleanly with heat alone.
Rubber-based adhesives appear on tape, packing labels, and budget stickers. They have aggressive initial tack but degrade over time, leaving gummy residue that resists alcohol. WD-40, mineral oil, and citrus solvents (d-limonene) dissolve rubber adhesives effectively.
Silicone adhesives are used in medical, electronics, and high-temperature applications. They resist most common solvents. Removal requires specialized silicone solvents or extended heat exposure. Consumer products rarely use silicone adhesives, so most home users won't encounter them.
Persistent residue points to one of three issues. The label was applied to a porous surface and the adhesive penetrated. The adhesive has cured beyond its design lifespan. Or the label used a low-quality adhesive that breaks down chemically rather than peeling cleanly.
Cheap stickers often use under-formulated rubber adhesives that oxidize and harden, bonding more aggressively as they age. This is why how to remove sticky labels from old jars feels harder than removing fresh ones. The chemistry has literally changed.
If three different methods fail, the residue has likely cross-linked with the surface. At that point, mechanical abrasion with a polishing compound or fine steel wool may be the only option, accepting some surface wear as a trade-off.
This problem is preventable at the manufacturing stage. The label maker chose the wrong adhesive for the application. End users inherit that decision, and removal difficulty becomes a quality signal about the original product.
Residue complaints are an adhesive specification problem, not a customer behavior problem. Brands that match adhesive chemistry to expected removal scenarios reduce returns, negative reviews, and post-purchase friction significantly.
For glass packaging like cosmetics, beverages, and candles, removable acrylic adhesives leave clean glass without solvent. For products where labels stay permanently, aggressive permanent acrylics make sense. The mismatch happens when permanent adhesives end up on products customers expect to clean.
At ASAS Label, we specify adhesive chemistry based on the customer's end-use case, not generic defaults. Specifying the right adhesive at production costs nothing extra and eliminates one of the most common product complaints brands face.
Clean removal also affects perceived quality. A premium product with a label that destroys itself or leaves a gummy mess undermines the entire packaging investment. Adhesive selection is part of brand experience, not just compliance.
Does WD-40 actually work on sticker residue?
Yes. WD-40 dissolves rubber-based adhesives quickly and works on acrylic adhesives more slowly. Spray on, wait two minutes, wipe clean. Avoid on porous surfaces and unsealed wood.
Can I use vinegar to remove sticker residue?
Yes, on glass and metal. White vinegar's acidity weakens water-soluble adhesive components. It is less effective on acrylic adhesives and ineffective on silicone, but it's safe on most surfaces.
Will heat damage the surface underneath?
No, if used correctly. A hairdryer on medium heat at six inches distance is safe for almost any surface including plastic and finished wood. Heat guns require more caution due to higher temperatures.
Does freezing really work for fabric?
Yes. Cold makes adhesive brittle, allowing it to crack and release from fibers rather than smearing deeper into them. This is the most reliable approach for clothing and upholstery.
Why does old residue feel harder to remove than fresh?
Adhesive polymers oxidize and cross-link over time, increasing bond strength and reducing solvent solubility. Fresh residue responds to almost any method; aged residue often requires combined heat and solvent treatment.
Is acetone safe on all plastics?
No. Acetone dissolves polystyrene, ABS, and many polycarbonates. Test on an inconspicuous spot first, or default to isopropyl alcohol, which is safer across plastic types.
What's the fastest method overall?
Heat plus oil. Warm the residue with a hairdryer for 30 seconds, then apply cooking oil or mineral oil and rub with a microfiber cloth. This combination handles 90% of consumer sticker residue in under two minutes.