
Contact Sales Now
Thank you! Your submission has been received!
Oops! Something went wrong while submitting the form.

Contact Sales Now
Thank you! Your submission has been received!
Oops! Something went wrong while submitting the form.

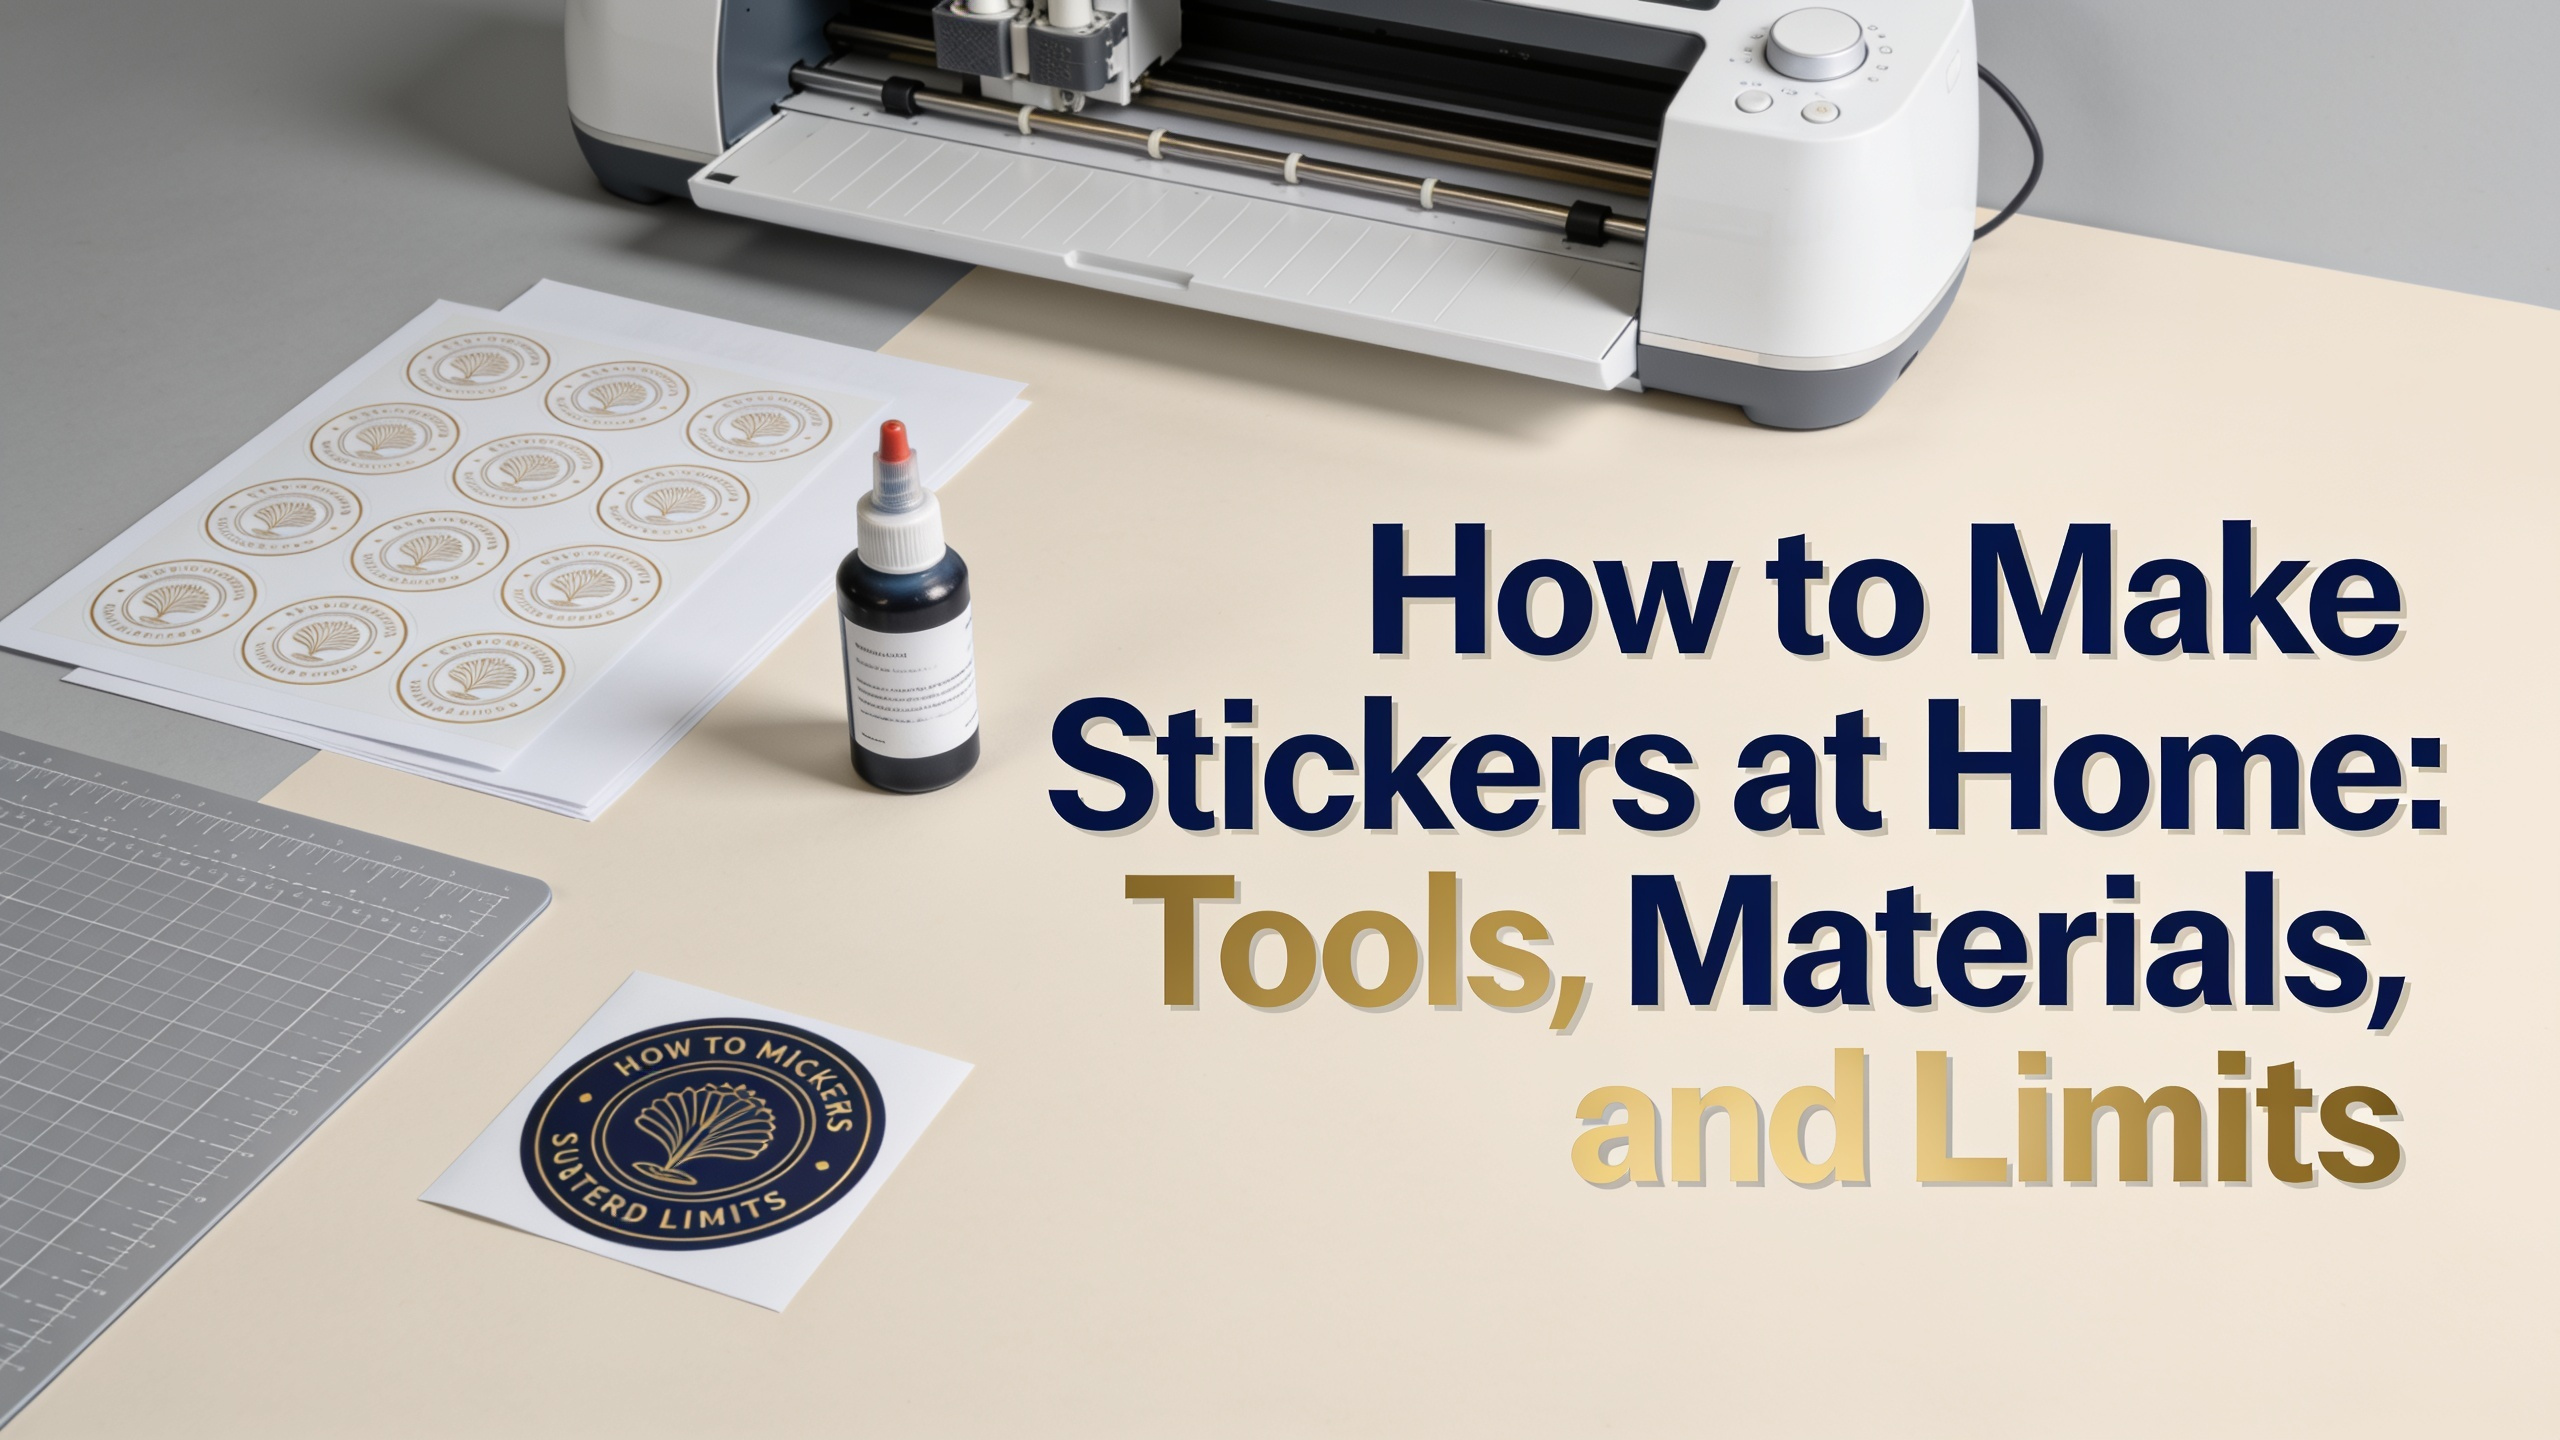
Making stickers at home gives you creative control, fast turnaround, and low upfront costs. With the right printer, sticker paper, and cutting method, you can produce custom decals for laptops, water bottles, packaging, and branding within an hour.
This guide covers the gear, materials, workflow, sealing methods, and quality ceilings of DIY production. You'll also learn when home printing stops making sense and professional printing takes over.
The core setup for how to make stickers at home includes three components. An inkjet or laser printer, compatible sticker paper, and a cutting tool. Each affects color accuracy, durability, and edge quality.
Inkjet printers handle most sticker papers and produce vibrant color gradients. Laser printers run faster and resist smudging but require laser-rated sheets. Pigment-based inkjet inks outlast dye-based inks when exposed to light.
Your cutting options range from basic to precise:
Software matters too. Canva, Adobe Illustrator, Procreate, and Inkscape all export print-ready files. Use 300 DPI minimum and CMYK color mode for accurate output.
Sticker paper selection drives the final look and lifespan. Each finish serves a different purpose and pairs with specific printer types.
Glossy paper delivers high color saturation and sharp contrast. It works well for photography-based designs but shows fingerprints and glare under direct light.
Matte paper reduces reflection and feels premium. It's ideal for text-heavy designs, minimalist branding, and product labels where readability matters more than vibrance.
Vinyl sticker paper resists water, tearing, and UV exposure. It's the standard for outdoor use, laptops, and water bottles. Both inkjet and laser-compatible versions exist.
Clear sticker paper creates a transparent background effect. Print designs without white ink, and the substrate beneath shows through. Best for glass jars and window decals.
Holographic paper adds rainbow shimmer or prismatic effects. The base sheet carries the foil pattern, and your ink prints on top. Results vary by design density and color choice.
Here's how do you make stickers at home from start to finish using a repeatable workflow.
For learning how to print stickers from printer setups efficiently, save your document template. Reuse it for future runs to skip the setup phase entirely.
Standard sticker paper smudges when wet. Sealing extends the lifespan and protects ink from moisture, scratches, and UV damage. Three methods dominate DIY workflows.
Self-adhesive laminate sheets offer the cleanest finish. Peel the backing, align over your printed sheet, and press down with a squeegee. Available in matte, glossy, and holographic overlays.
Mod Podge or acrylic sealer applies as a liquid coat with a brush. It's affordable but can streak if applied unevenly. Two thin coats work better than one thick layer.
Clear spray sealants like Krylon or Rust-Oleum deliver even coverage in seconds. Spray in light passes from 25cm away. Use outdoors or in a ventilated area.
For full waterproofing, combine vinyl sticker paper with a laminate overlay. This pairing survives dishwashers, outdoor weather, and frequent handling.
DIY stickers fall short of professional output in several measurable ways. Knowing these limits helps you decide when home production fits your project.
Color accuracy drifts because consumer printers calibrate inconsistently. Brand colors, gradients, and skin tones rarely match Pantone references without professional calibration.
Adhesive strength on home sticker paper is weaker than industrial die-cut adhesives. Stickers may lift at corners after weeks of wear, especially on curved surfaces.
Cut precision hits a ceiling with consumer machines. Tiny details under 2mm often tear or distort. Kiss-cuts on sheet labels remain difficult without commercial equipment.
Specialty finishes like spot UV, foil stamping, embossing, and metallic inks aren't possible at home. Holographic paper provides only a basic shimmer effect.
Volume economics turn against you past 50 to 100 units. Ink, paper, and laminate costs per sticker stay flat at home, while professional printers drop sharply with scale.
Move to a professional printer like asaslabel.com when your project hits any of these triggers.
Professional printers handle vinyl, BOPP, polyester, and paper substrates with industrial laminates. They deliver tighter color tolerances, stronger adhesives, and finishes that DIY workflows can't replicate.
DIY production remains valuable for prototypes, one-off gifts, small craft markets, and design testing. Use home printing to validate concepts before committing to a professional run.
Can you make stickers without a Cricut?
Yes. Scissors, craft knives, and corner punches all work for cutting sticker paper. A Cricut speeds up batch production but isn't required for how to make DIY stickers at small scale.
Do home-printed stickers last outdoors?
Only with the right materials. Vinyl sticker paper sealed with UV-resistant laminate survives outdoors for 6 to 18 months. Standard paper stickers fade and peel within weeks of sun and rain exposure.
What printer is best for stickers?
Pigment-based inkjet printers like the Epson EcoTank or Canon PIXMA Pro series produce the most durable color. Laser printers work for high-volume matte output but require laser-rated sticker sheets.
Can you use regular paper instead of sticker paper?
No. Regular paper lacks adhesive backing. You'd need to apply double-sided tape or glue manually, which defeats the purpose and produces uneven results.
How do you make stickers at home waterproof?
Combine vinyl sticker paper with a laminate sheet or clear spray sealant. This two-layer system blocks moisture from reaching the ink and adhesive.
How much does it cost to make stickers at home?
Roughly $0.30 to $1.00 per sticker depending on paper grade, ink coverage, and sealing method. Professional bulk orders drop below $0.10 per piece at quantities above 500.
Can inkjet ink smudge on sticker paper?
Yes. Dye-based inks smudge when exposed to water or friction. Pigment inks resist smudging better, and laminate sealing eliminates the issue entirely.
What size should sticker designs be?
Most home stickers range from 2 to 4 inches. Designs under 1 inch lose detail in home printing, and anything above 5 inches strains standard A4 or Letter sheet layouts.
Is it cheaper to make stickers or buy them?
For under 20 units, making them at home costs less. For 100 or more, professional printing wins on price, quality, and time investment.